
A peek inside the process of relief printing.
Generally I start with a sketch at the exact size of my future print. These little sunflowers stood tall outside the back door of Moulton House, my temporary home at Phillips Exeter Academy, where I teach art for the summers. Often, I’ll make adjustments to the initial sketch with a variety of options to make it more appropriate for a block print. Once I decide on a satisfactory drawing, I transfer the sketch to the block. In this case, the E-Z cut rubber receives the pencil quite well. I place the paper in contact with the block and rub the back of the drawing until the image transfers to the rubber. As you can see, the drawing is reversed in the carving process. I generally darken any areas I wish to print with a 6B pencil and finally I’m able to carve away any white I want in the final image. After a few thousand tiny slivers of block are carved away, I complete a test roll with the ink. If there are any remaining areas to carve, I'll make my final edits and complete a test print, known as the "artist's proof." This involves inking the block with a brayer and using my trusty Yasutomo Bamboo Baren. I use circular motions and even pressure to gently rub the thin layer of ink onto a fresh piece of printing paper. Often I will create multiple edits before this process is complete. If all goes well, I'll start editioning the prints. Due to the process of hand printing I tend to keep my edition sizes under 50. A few hours and some elbow grease later: voila!
Sunflower sketch and intitial carving lines.
Inking of sunflower print

Final print with brayer and EZ cut block


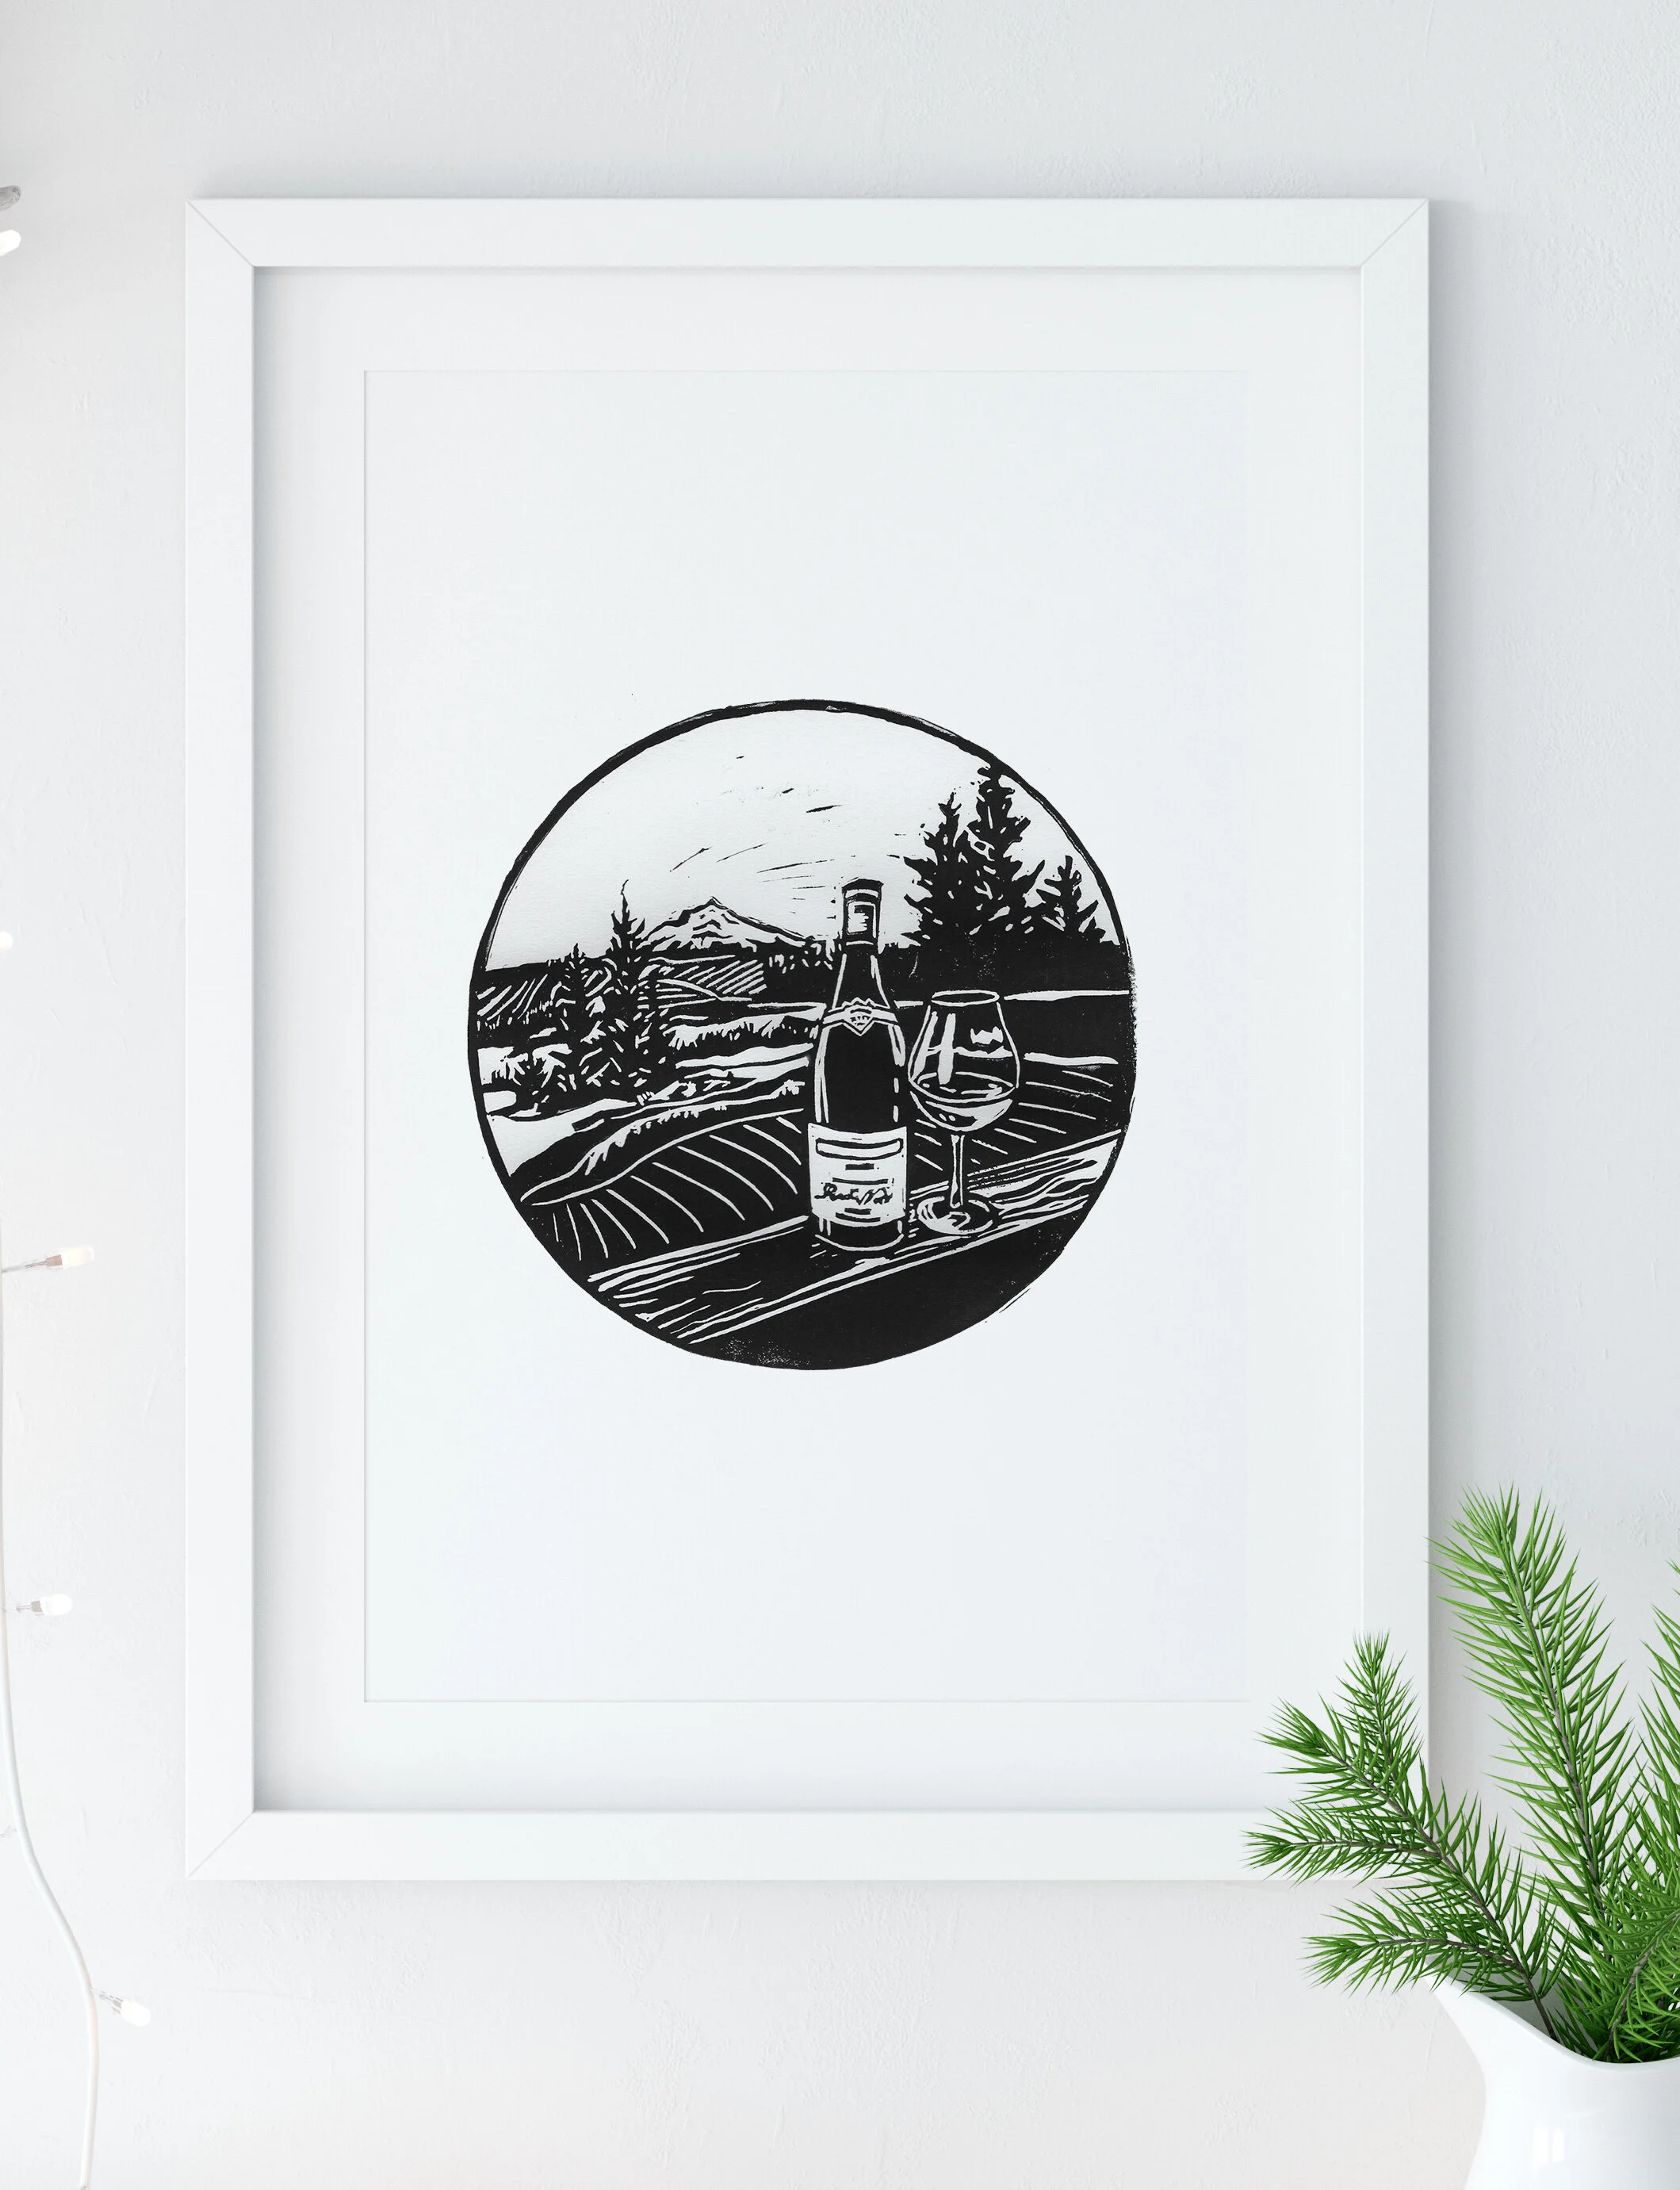


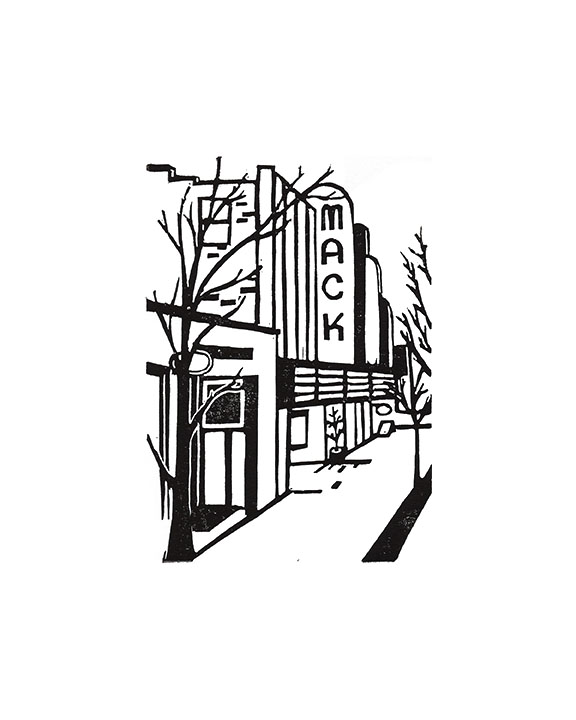
Single color, hand-pulled relief print featuring Turner’s Willamette Valley Vineyards
Original prints are hand carved and hand-printed in black on Strathmore acid-free paper.
Each print is unique due to the nature of a hand-pulled print.
Artwork is unframed.
Image size: 4” x 6”
Printed on 8” by 10” paper.
Best for an 8" x 10" frame
Shipped flat in a protected mailer.